QA Check Settings
The main aim of quality assurance (QA) checks is to help you efficiently handle different language-specific aspects in translations and ensure they are formatted the same way as the source strings and will fit the UI just as well. Some typical QA check issues include missed commas, extra spaces, or typos.
With QA checks, a proofreader will see all those kinds of issues that should be fixed, as they will be highlighted in the Side-by-Side mode in the Editor. QA checks help to detect some common mistakes easily and quickly. It’s recommended to review and resolve all QA check issues before building your project and downloading translations.
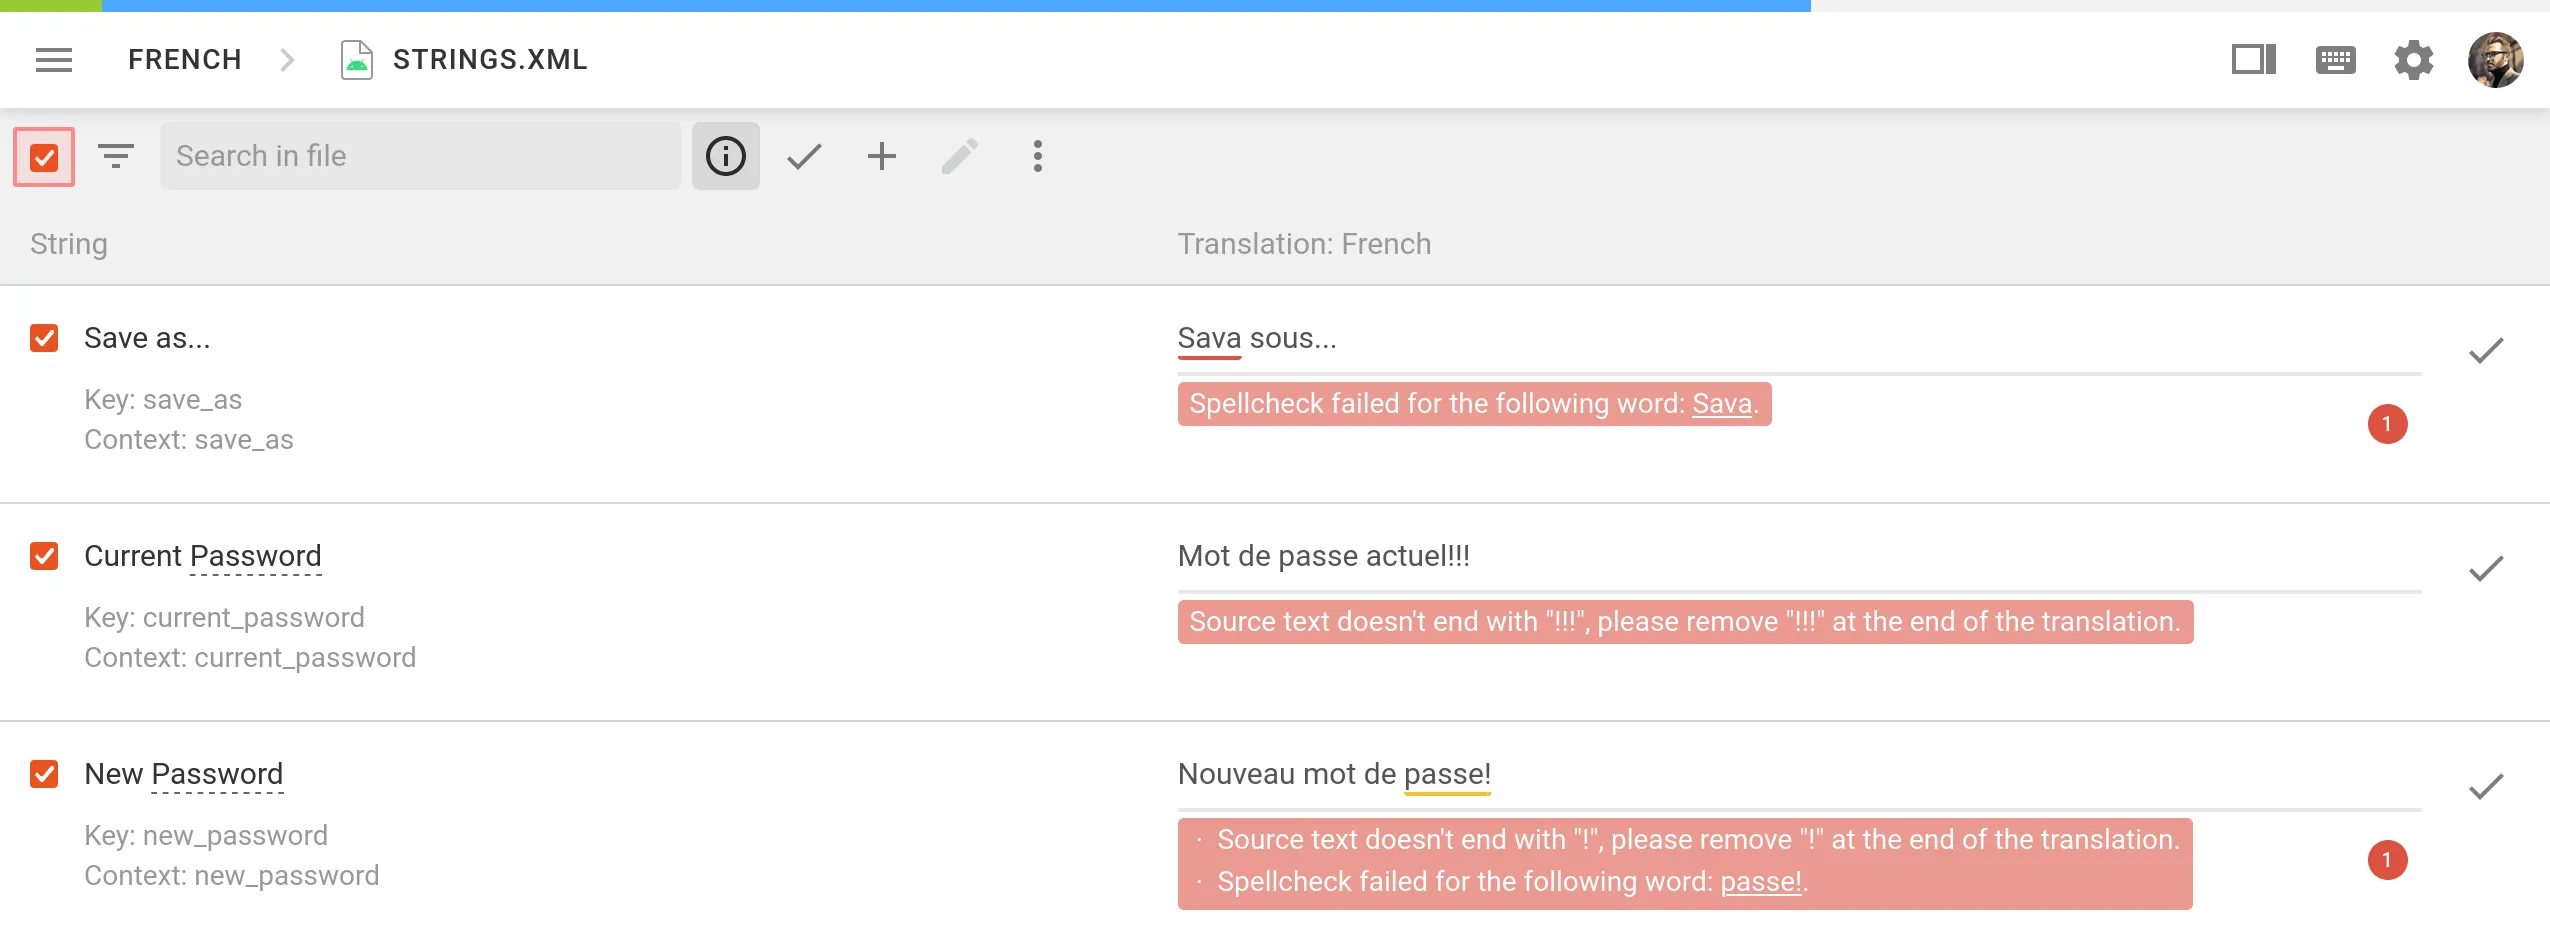
In the QA Checks section, you can manage the types of QA issues to be highlighted in the Editor during the translation process.
Configure QA Checks
By default, QA checks are enabled. To select the needed QA checks in your project, follow these steps:
- Open your project and go to Settings > QA Checks.
- Ensure that Enable QA Checks is selected.
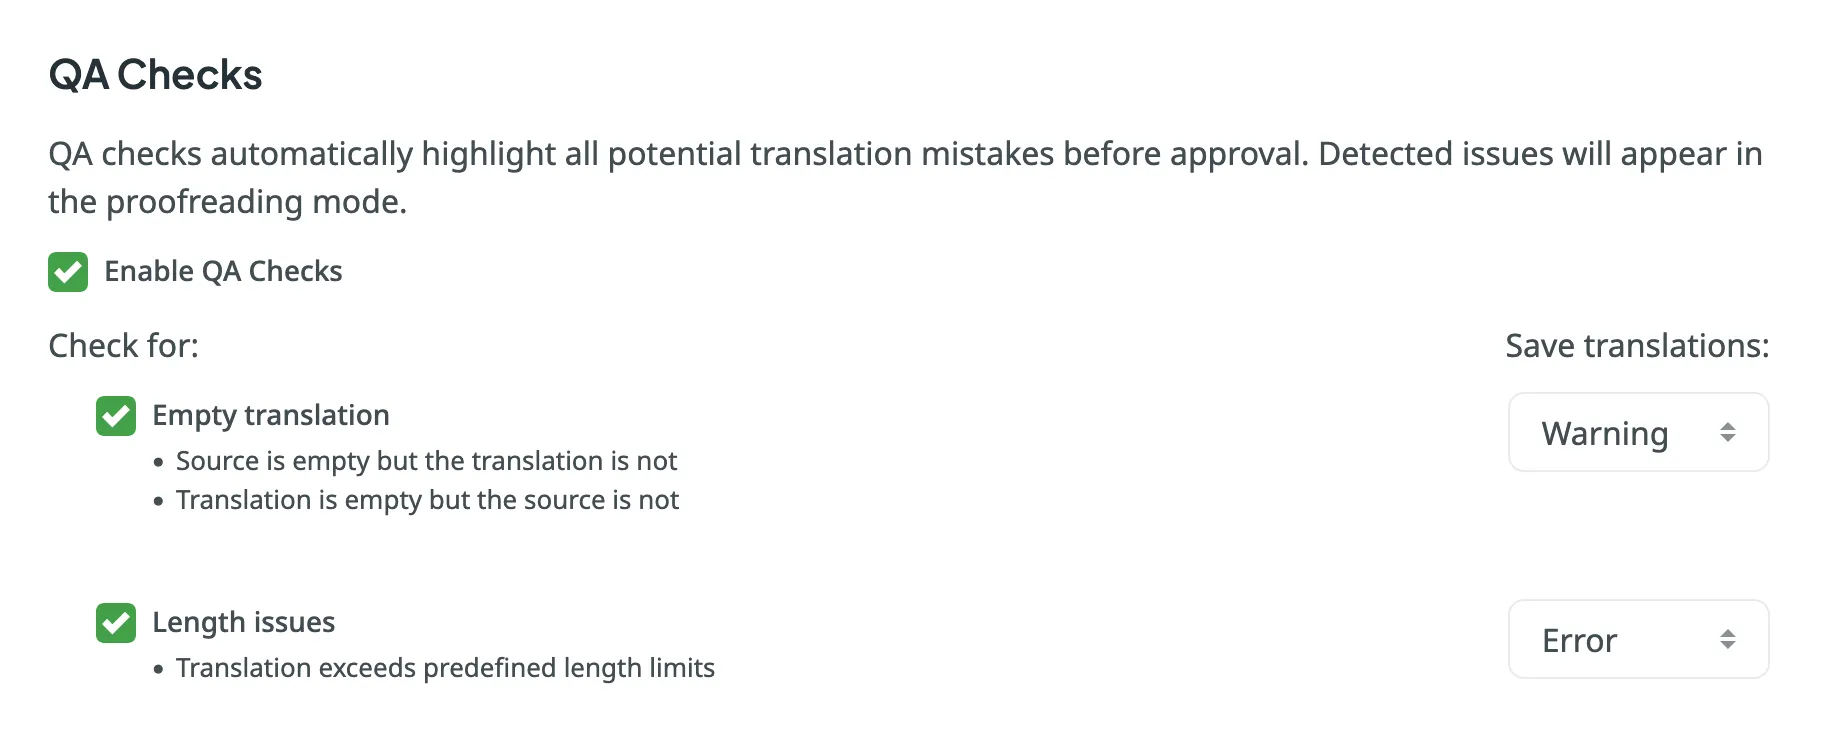
- Select the QA check types according to your preferences.
- For each selected QA check type, choose whether it should be possible to save translations with QA issues by selecting one of two options: Error and Warning.
- Warning – translators are notified about QA issues with suggestions for fixes, but they can still save the translation using the Save anyway button.
- Error – translators are notified about QA issues with suggestions for fixes, and they cannot save the translation until all issues are resolved.
- Scroll down to the bottom of the QA Checks list and click Save.
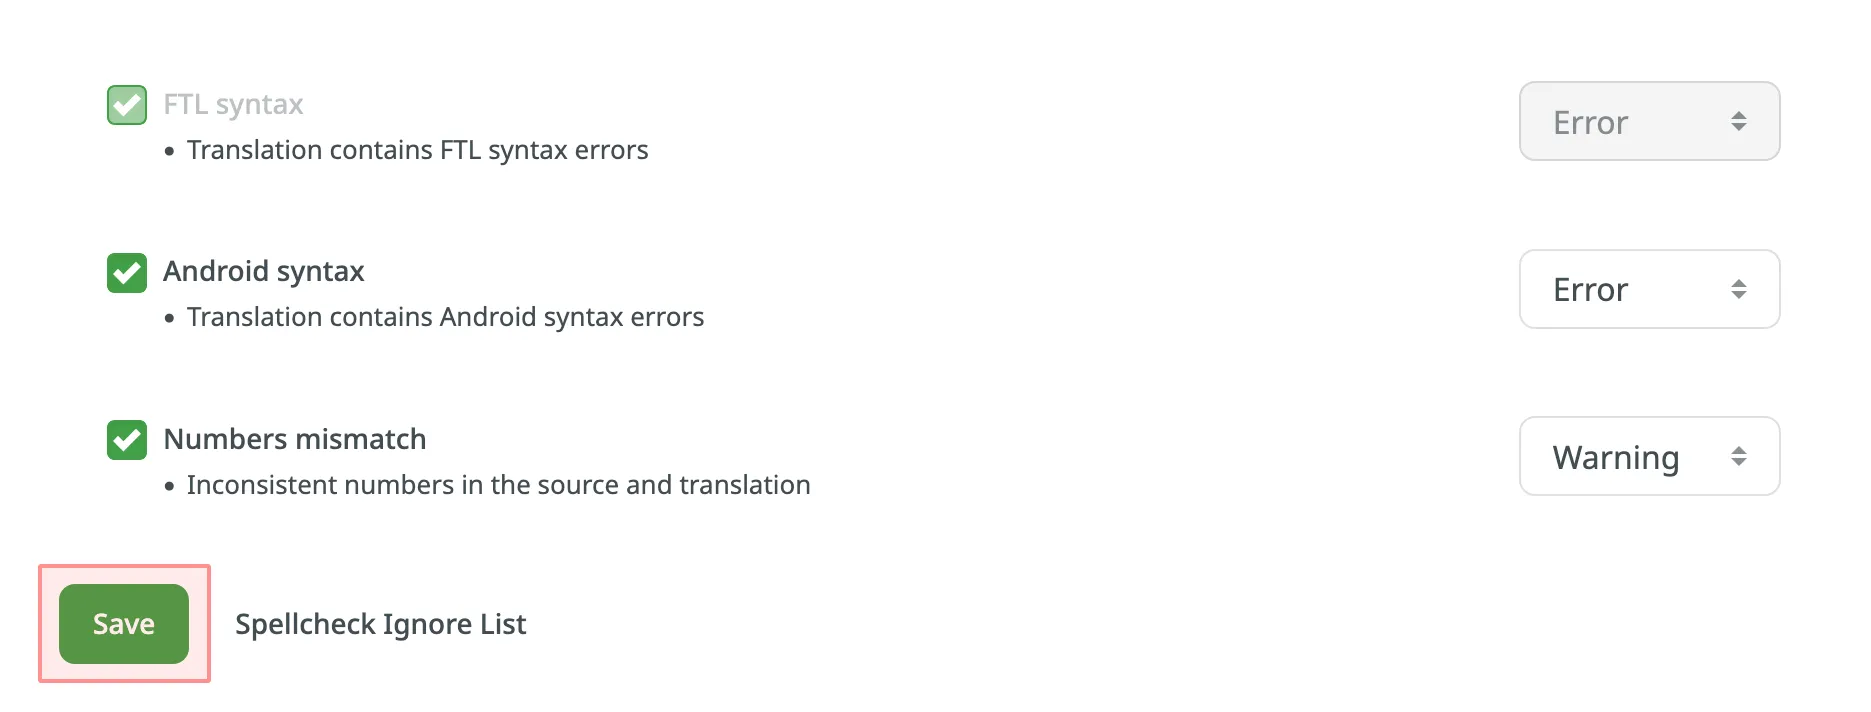
Once enabled, QA checks will work in the background and scan the translations for potential QA issues.
QA Check Parameters
Empty translation – strings that lack translation.
Length issues – translated strings that are longer than the limit of characters you set.
Tags mismatch – strings containing HTML tags might lack some opening or closing tags in translations.
Spaces mismatch – multiple spaces in a row, missing spaces.
Variables mismatch – placeholders that lack some parts of code or have the odd ones.
Punctuation mismatch – punctuation mistakes or differences in the punctuation marks.
Character case mismatch – lower or upper case used differently in source and translated strings.
Special characters mismatch – new paragraphs, currency signs, and other special characters used differently in source and translated strings.
“Incorrect translation” issues – created issues with the “current translation is wrong” tag.
Spelling – words that aren’t present in the dictionaries Crowdin supports.
ICU syntax – the correct usage of ICU message syntax in translations.
Consistent terminology – checks whether the source words are translated accordingly to the respective glossary terms.
Duplicate translation – translations that duplicate already existing translations.
FTL syntax – the correct usage of the FTL syntax in translations.
Android syntax – the correct usage of the Android syntax in translations.
Numbers mismatch – checks for inconsistencies or missing numbers between the source and translations.
QA Status Options
OFF – when it’s not enabled.
IN PROGRESS – while it’s working.
NO ISSUES – when it found no mistakes.
ISSUES FOUND – when it found some mistakes.
More Information On Found Issues
If the QA check status is Issues Found, you can click on it, then click View Issues to get detailed information on the found issues.
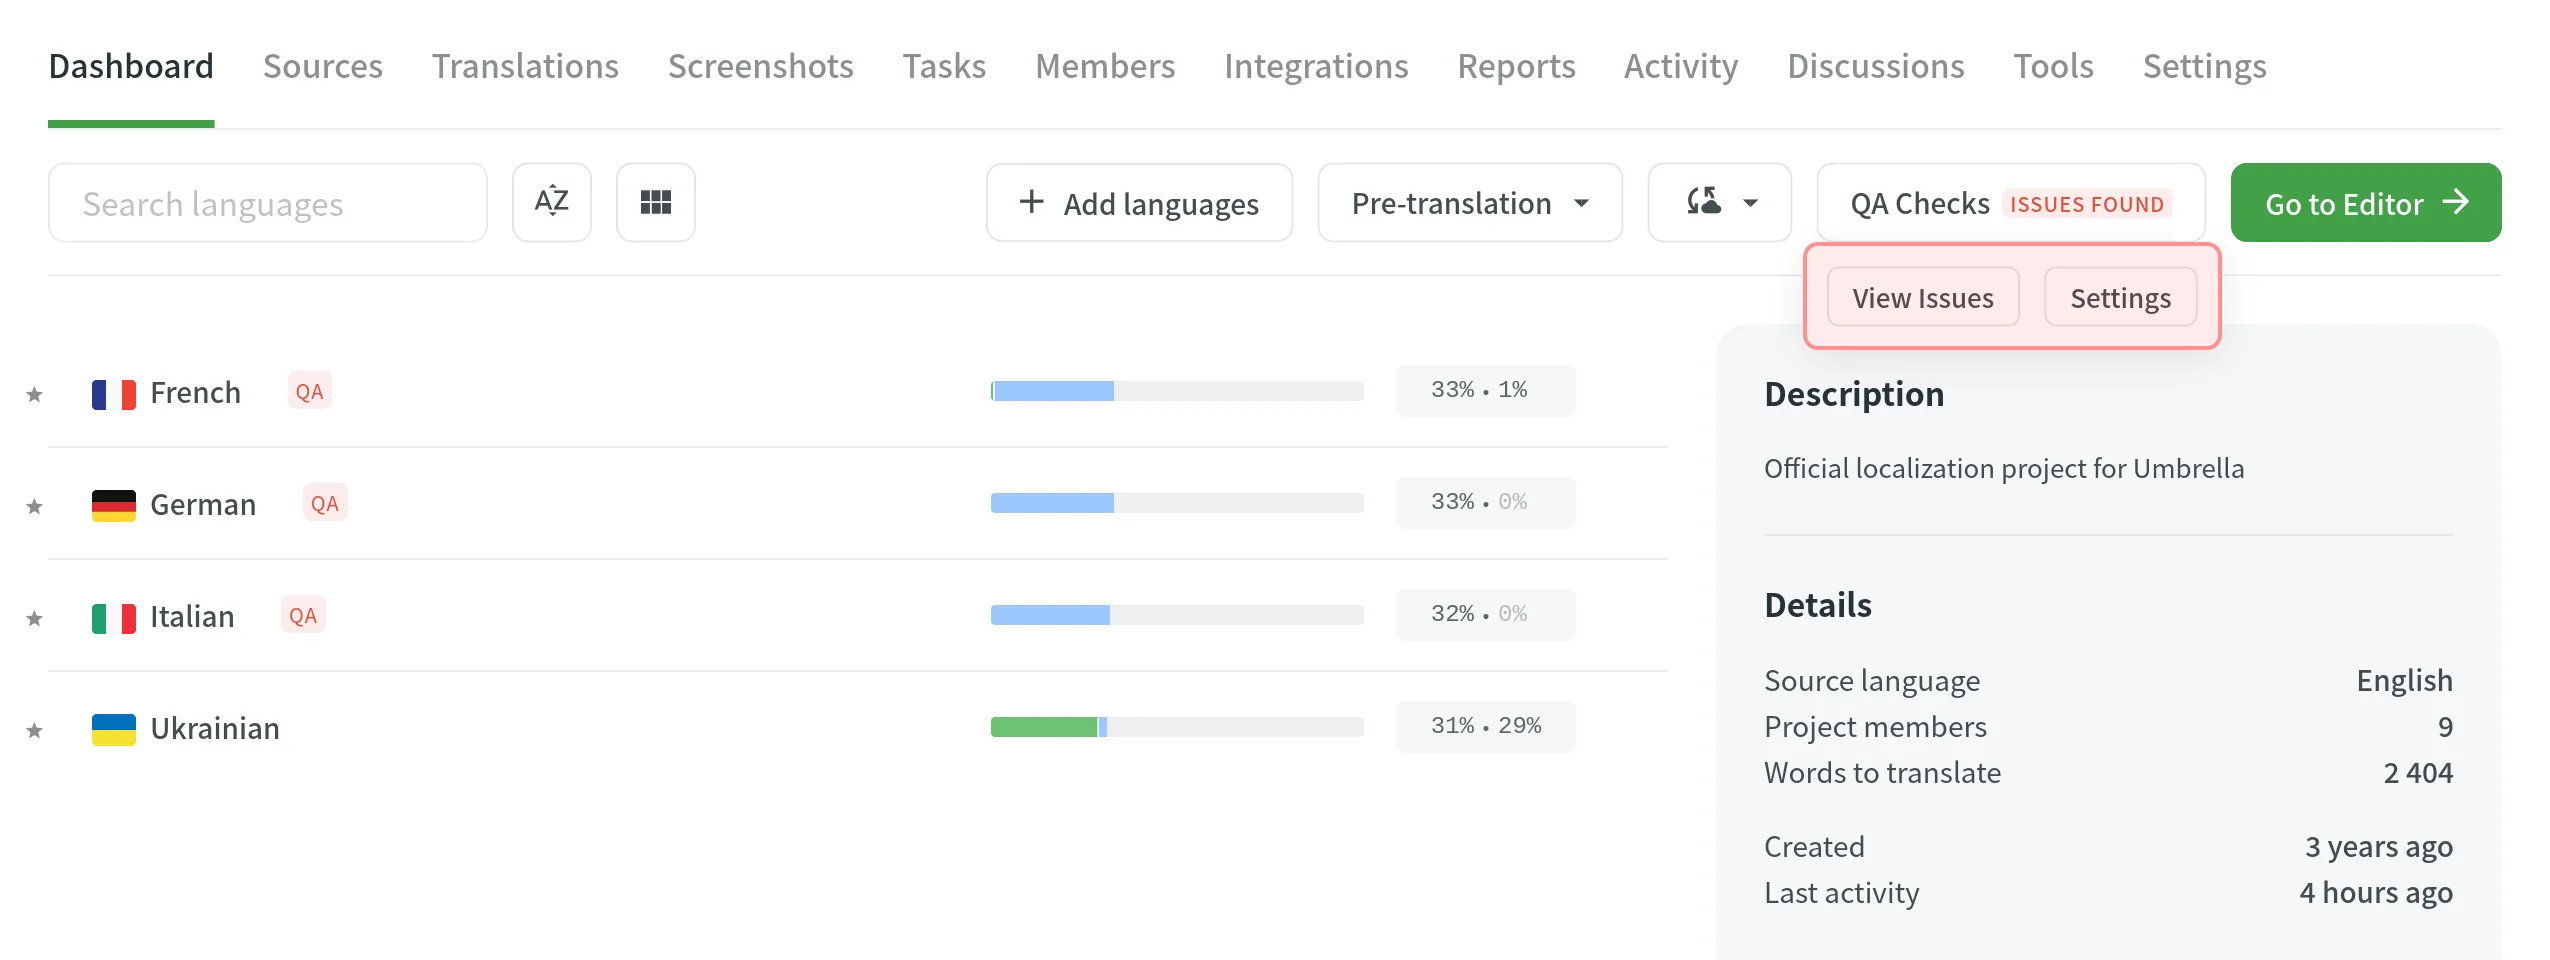
In the unfolded language details section, you will see the number of issues found. To see them in detail, click Suggestions with QA issues.
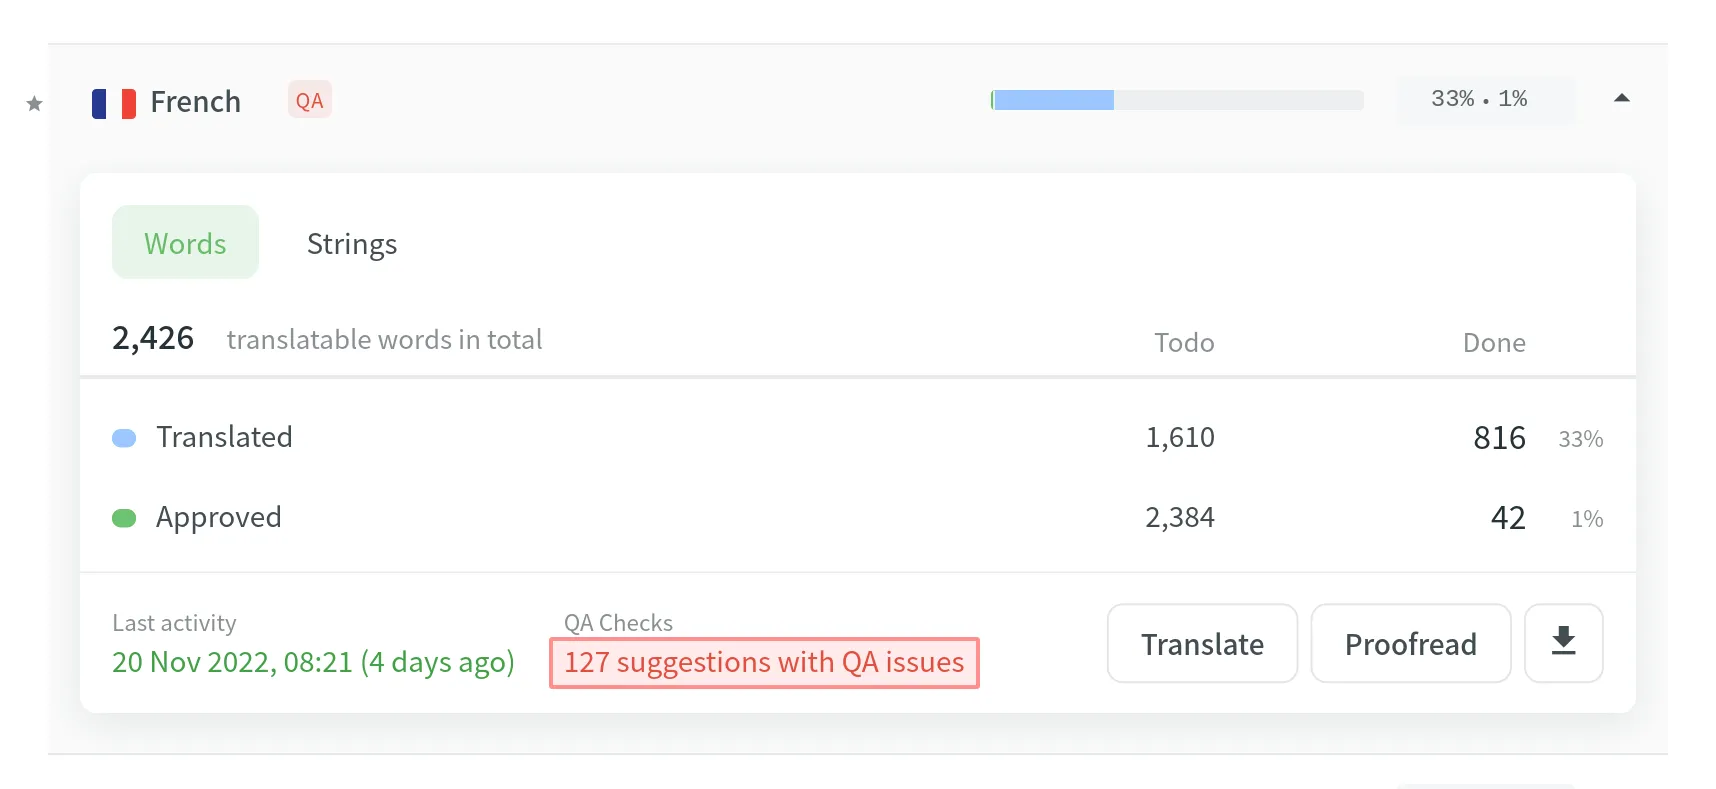
After it, you will be redirected to the Side-by-Side mode of the Editor to check the list of strings with QA issues. You can approve the existing translations if they are supposed to be the way they are or make changes and then approve the translations.
Spell Checker Ignore List
If your project contains some uncommon words that are not recognized by the Spell checker, you can add them to the Ignore list to exclude them from being checked.

To review the words added to the Ignore list for the Spell checker, follow these steps:
- Open your project and go to Settings > QA Checks.
- Click Spellcheck Ignore list at the bottom of the page.
In the opened window you can see the list of words added to the ignore list. You can filter or remove them from the list if necessary.